What to do if Recovery Explorer doesn’t detect your device
Recovery Explorer automatically detects all available data storages, both internal and external ones that are currently connected to the computer. So, in case you can’t locate a specific device in its interface, the very first step to take is to refresh the list of storages:
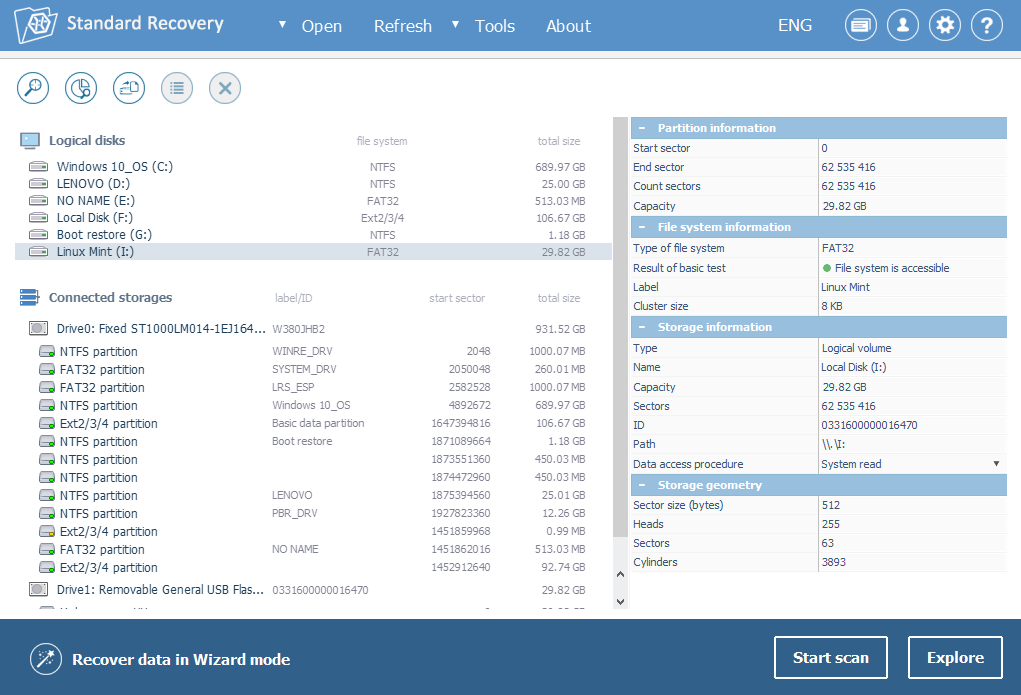
Under the Standard mode:
Click on Refresh at the top bar.
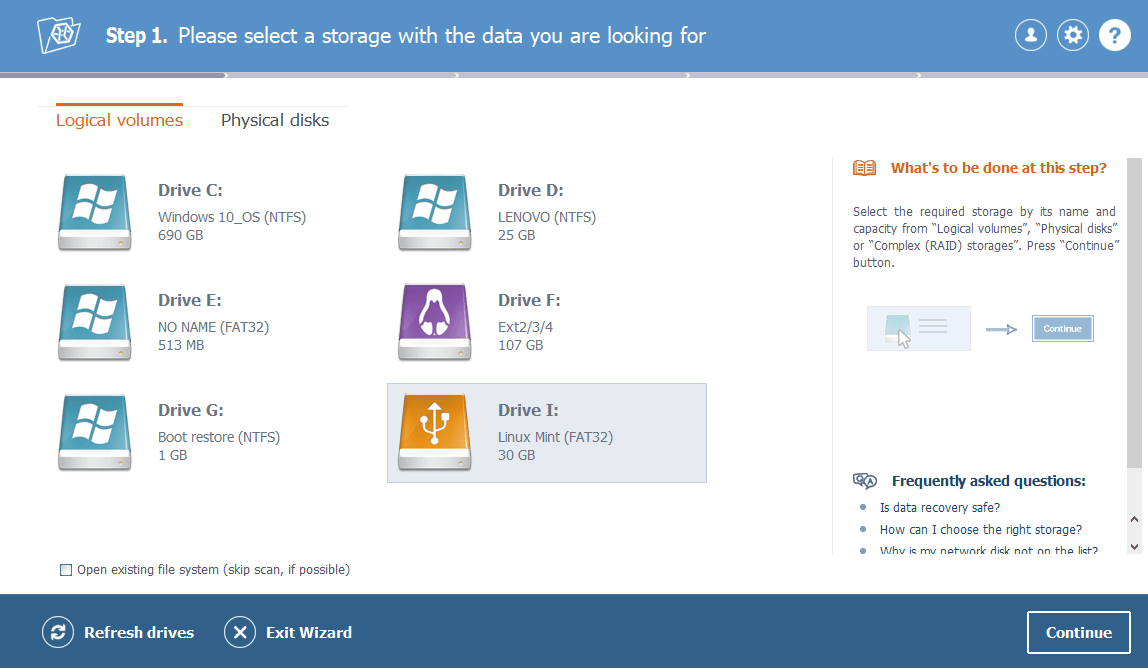
Under the Wizard mode:
Press Refresh drives at the bottom of the window.
In case it doesn’t help, try plugging your device into a neighboring USB port. You may also use another connection cable, if there is any. Mind that the cable should be firmly attached to both the device and the PC. And if the program fails to detect a 3.5″ HDD, please check its power cable as well. It should be working, properly attached to the hard disk and plugged in a power socket. Finally, check if connecting your drive to another PC could help.
If the undetectable device is connected via a USB-SATA adapter or any other kind of adapter, we suggest that you try attaching it directly to the motherboard with a SATA cable or in any other way (for example, in case of an M.2 drive you may try inserting it into the corresponding port right on the motherboard).
And when trying to recover data from a memory card connected via a card reading device, please make sure that the card and the reader are fully compatible and verify whether the first one is inserted into an appropriate slot and the second one works properly.
As an alternative, check if the operating systems can “see” your drive. In Windows, right click on "Computer" and select "Manage". Go to "Storage" and then open "Disk management". Or you can do the same in the Run command window: press Windows key + R, type diskmgmt.msc and hit Enter to access "Disk management". Make sure that the drive you are looking for is listed there.
In case neither of the previous solutions helps and your device isn’t even listed under "Disk management", the problem might be caused by some kind of physical damage and that means you need to contact a data recovery center.
However, if the drive is detected by the OS, but Recovery Explorer still doesn’t show it, you may try using the Open option under the Standard mode: click on it, select Named device
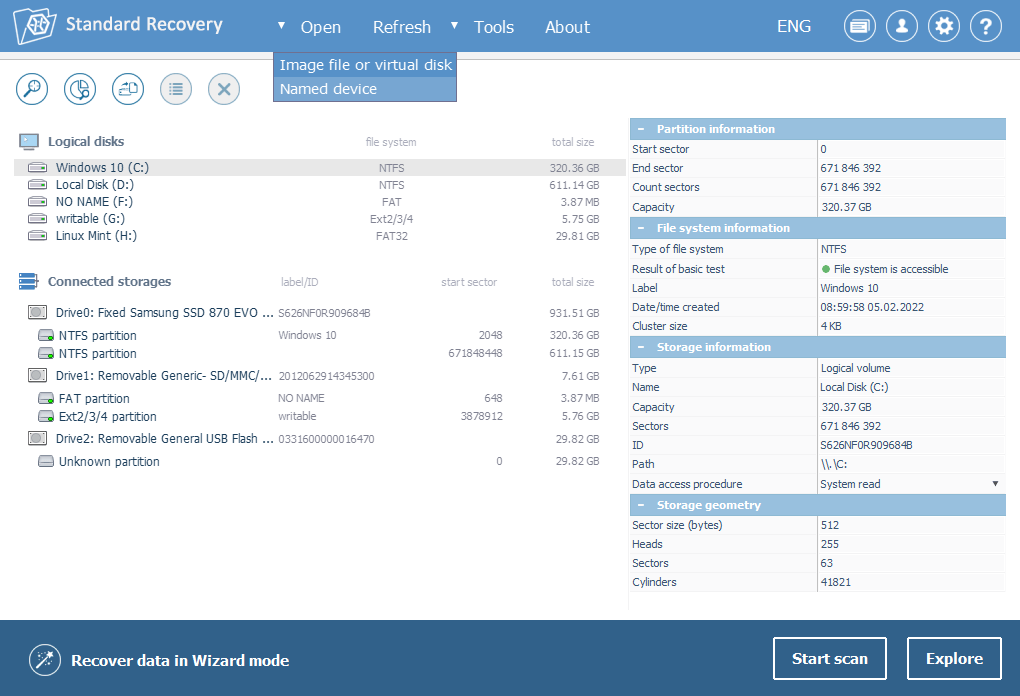
and type the device path.
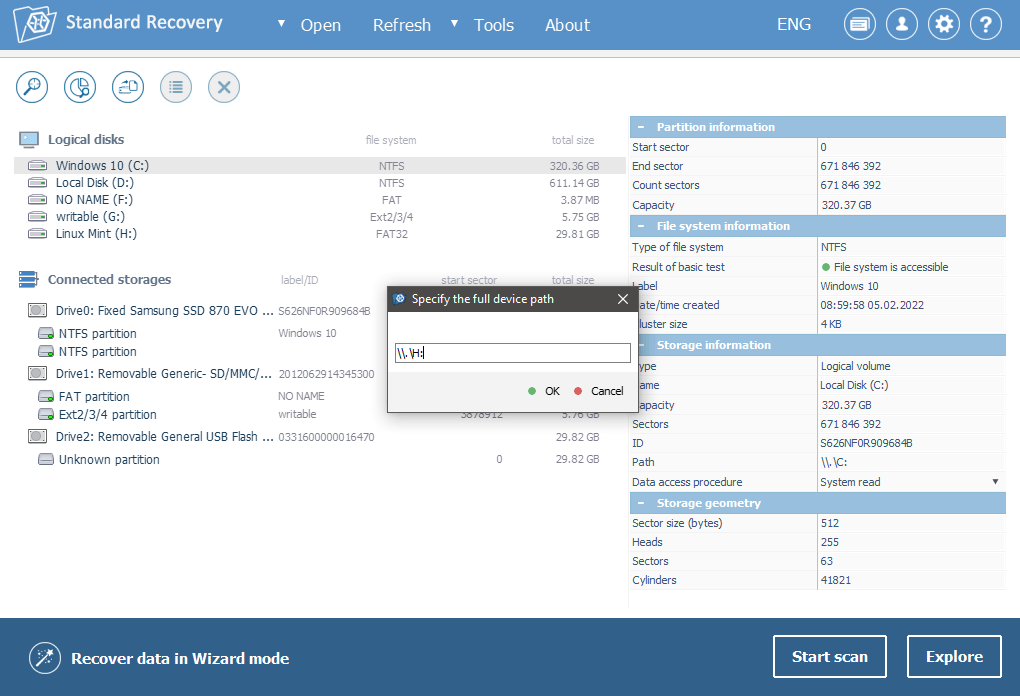
Depending on the operating system, the format of the path may vary:
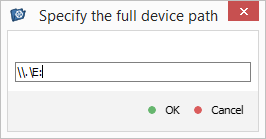
Windows: enter the path as \\.\*, where “*” should be replaced with the letter assigned to the drive and a colon (in case of a logical drive mounted in the OS)
or with its name and number: PhysicalDrive№ (in case of a physical one).
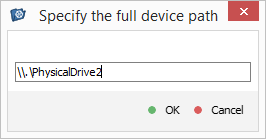
To get the drive’s number, open the disk management tool, press Win + R on your keyboard, type diskmgmt.msc and then locate the drive in question in the list.
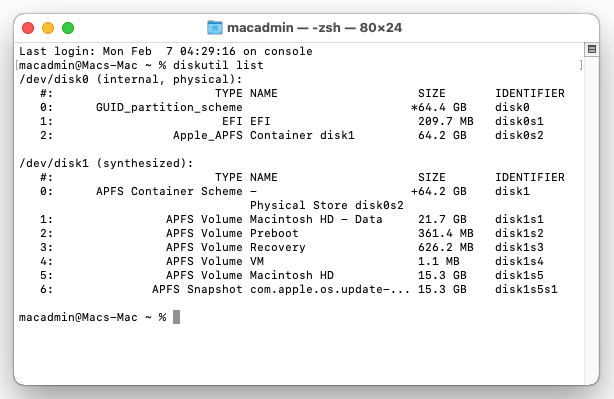
macOS: type the path as /dev/disk*, replacing “*” with the ordinal number of the device in the system. To access the list of drives, run the command “diskutil list” in the terminal.
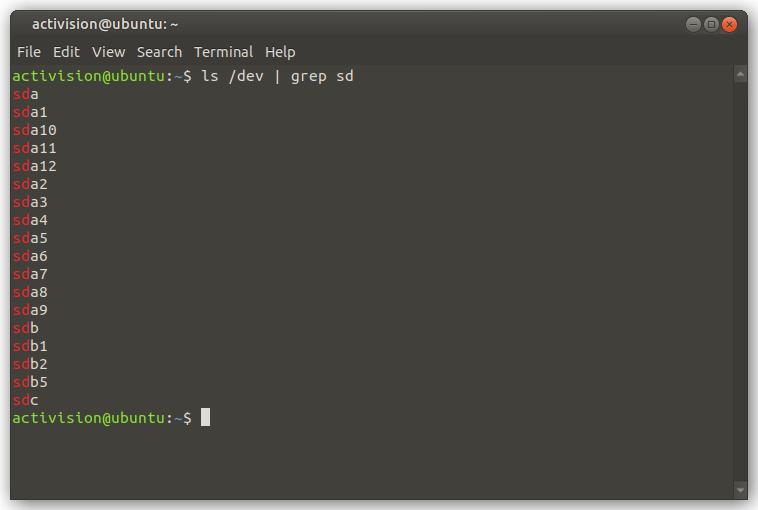
Linux: the path should be specified as /dev/sd*, replacing “*” with the drive's ordinal number in the system (consists of an English alphabet letter and a number):
Most Linux block devices are now connected via SCSI (Small Computer System Interface), so in the majority of cases you should type “sd” before the drive’s number. Nevertheless, please replace “sd” with “mmcblk” for a memory card connected via a card reader, or with “hd” for an ATA drive, or with “vd” if you’re looking for a virtual drive.
The easiest way to see all connected drives is to list the devices in the /dev/ directory in the terminal and filter out “sd” devices running the command “ls /dev | grep sd” or “ls -l /dev | grep sd”.