How to install and setup Recovery Explorer software
Windows
Download the software by pressing the Download button from the web site. Do not use the disk you've lost your data from as a target location for saving this file!
After the download is finished, you will get an executable file with the icon of a Software Manager application:
Open the file from your computer to start the software installation. Your system will show the window of privileges elevation of software with a digital signature:
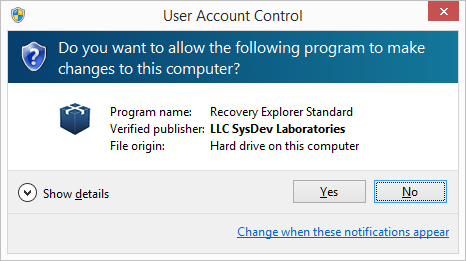
If the window does not show up or shows up as from an "unknown publisher", the program might have been downloaded incorrectly or from an unreliable source.
Continue the software installation with the Software Manager.
Linux
Download the software by pressing the Download button from the web site. Please, do not use the file system you've lost your data from as a target location for saving the files!
After the download is finished, you will get a .tar.xz archive.
Unpack the contents of this archive to /tmp. This will produce an .install executable file.
Open this file to start the software installation. In case of issues with the file permission assignment, open the terminal and assign the "execute" rights for this file:
$ sudo /tmp/*.install
 $ su root -c /tmp/*.install
Or
# chmod +x /tmp/*.install
* Please note that the name of the installation file should be inserted instead of the asterisk in *.install, for example, r-explorer-pro.install.
When launched by an ordinary (limited) user, the software manager will ask for execution rights elevation. If does not, it's advised to run the installer using a user account with elevated rights:
$ sudo /tmp/*.install
 $ su root -c /tmp/*.install
Or# /tmp/*.installAfter the installer application is launched, continue the software installation with the Software Manager.
macOS
Download the software by pressing the Download button from the web site. Please, do not use the file system you've lost your data from as a target location for saving this file!
After the download is finished, you will get a .zip archive
Unpack the contents of this archive by opening the archive file in Finder: this will produce an .install file
Run this application to start the Software Manager to continue the software installation
In the software manager
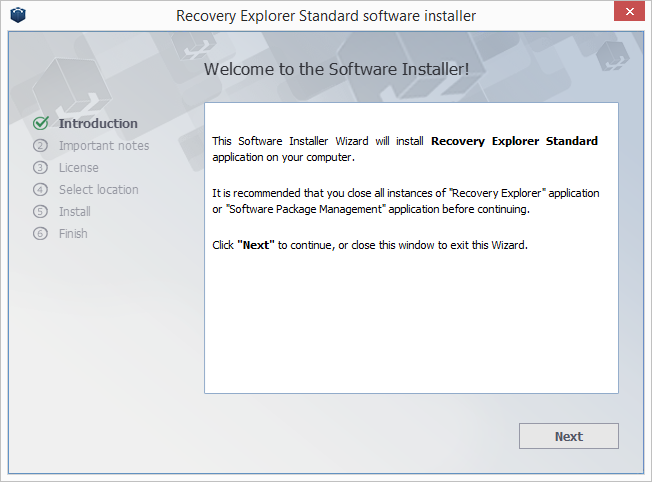
Read the introduction and press Next.
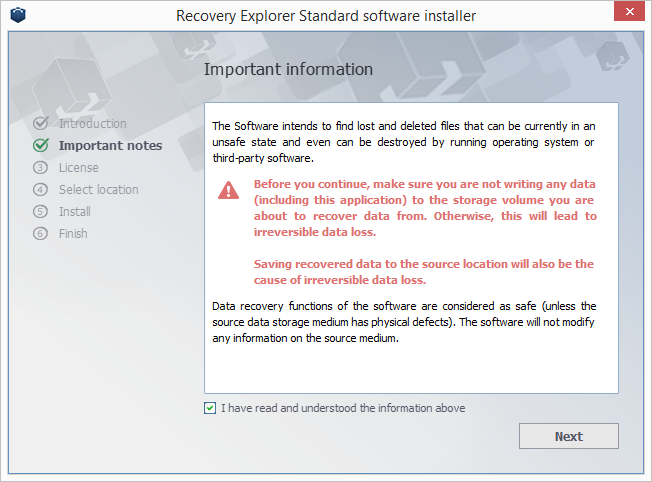
Read the warning notes carefully and tick I have read and understood the information above to continue.
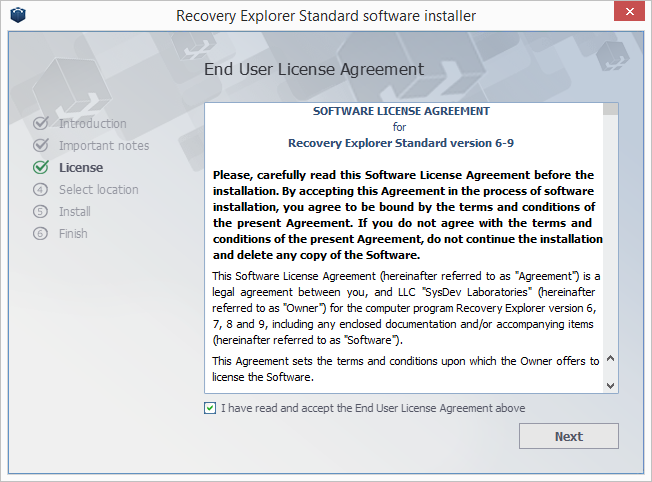
Read the license agreement carefully and tick I have read and accept the End User License Agreement above to continue.
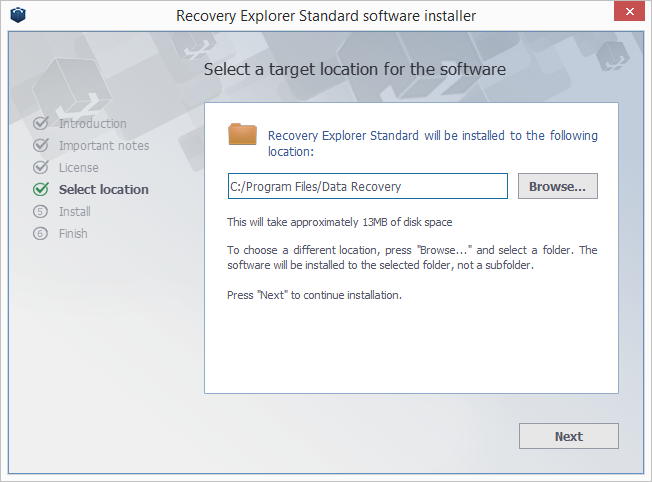
Choose a folder for software installation. You may keep the default location or change it using the Browse button
Warning: the target storage (disk or disk partition) must NOT coincide with the storage with the lost data.
Tick the actions you want to be performed by the software after its installation and press Finish.
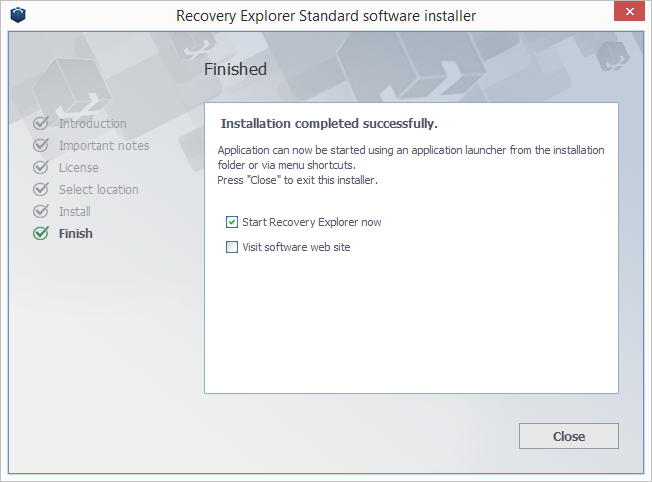
Now the software is ready for use.
Setting up the Recovery Wizard
In Recovery Explorer you can set specifications of the data recovery process by modifying the software settings. At the same time, from the very beginning the settings are adjusted to match the most appropriate defaults. Don't change them if you are not sure which settings will improve the software operation.
Recovery Explorer includes a list of settings for adjusting further program work with files at the very first step. The software settings include assigning encodings for file names and the types of user files for search.
File name encoding settings
To begin with, if the very notion of file name encodings seems perplexing to you, use the default settings. Recovery Explorer lets you change them at the stage when it finds and displays all your files.
However, if you are sure about the encoding type, adjusting it in the general software settings lets you define the proper standard for the file name representation in the program.
Recovery Explorer suggests the following options for file name encoding settings: encodings for file names in Legacy (non-Unicode) Windows, DOS and Linux/Unix systems. You can choose the needed one from the drop down lists at the end of each field.
The settings option Re-encode UTF-16 (Linux/Unix) allows you to change the Unicode UTF-16 encoding into the one typical for your file system. If the file system uses UTF-16 Unicode (such as the Linux JFS file system), its file names can be saved in UTF-16. If the file system practices any other encoding, mark this field with Yes for the correct file names representation.
Files search settings
Recovery Explorer allows specifying the desirable scenario for the search of lost files. As standard, the software has the search of lost and deleted files activated by default. All other setting options can be adjusted by selecting the Skip or Search from the drop-down list at the end of a corresponding field. These include:
From the Recycle Bin – sets the program to inspect the local PC recycle bin for lost, deleted and currently present data. The option is set to Search by default.
By known content – when set to Search, the software scans both metadata and content disk area and gives a more advanced recovery result included into the folder Extra found files. When set to Skip, the software conducts simple search and doesn't create the additional Extra found files folder to save RAM.
Small (diskette) file systems – if activated, this option makes the software scan the file system and find small file systems possibly contained among system files. As diskette file systems are not popular anymore, the option is set to Skip.
If there are no user files – if activated with Search, it enables scanning the file systems which do not contain user files. If the file system contains system files only, Skip lets the software omit the file systems that do not contain user files.